
How to Install Standoffs
Sep 04, 2024
Standoffs work to hold signs in place on different types of wall surfaces. Threaded standoffs present an attractive display for signage of different types. Standoffs come in different styles and designs that permit them to complement or coordinate with the area surrounding the signage. Properly installing standoffs ensures the secure placement of a sign. In addition, proper installation permits an easier change out of a sign and standoff when needed.
After selecting the exact location where you want to install a standoff, you are ready to commence the installation process. A standoff is capable of attachment to virtually any type of wall surface. Begin by measuring the spacing between anchor points to identify where to drill screws into the wall surface. Next, drill in the screws.
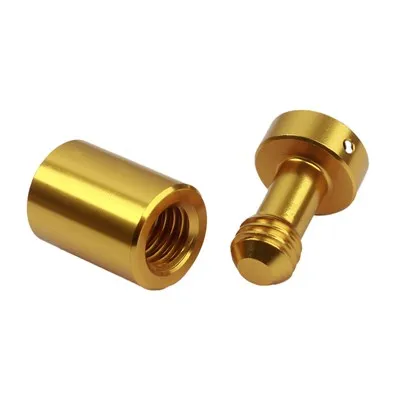
At this point in the installation process, the anchors attach to the screws placed into the wall surface. Typically a standoff comes complete with four anchors. Attach the back portion of the standoff to the anchors. Next thread the sign into the standoff.
The final step in installing a standoff is placing the cap over the sign. Caps install in different ways. Some snap on to the back portion of the standoff, while others slide into place. Double check the standoff to ensure it is solidly anchored and that the sign has been inserted properly.
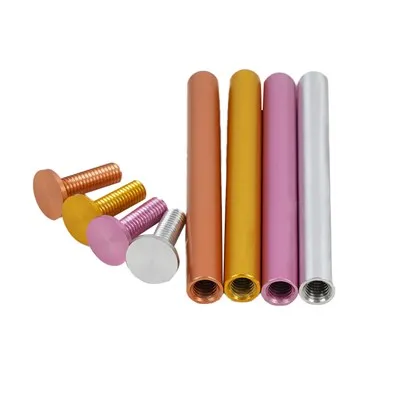
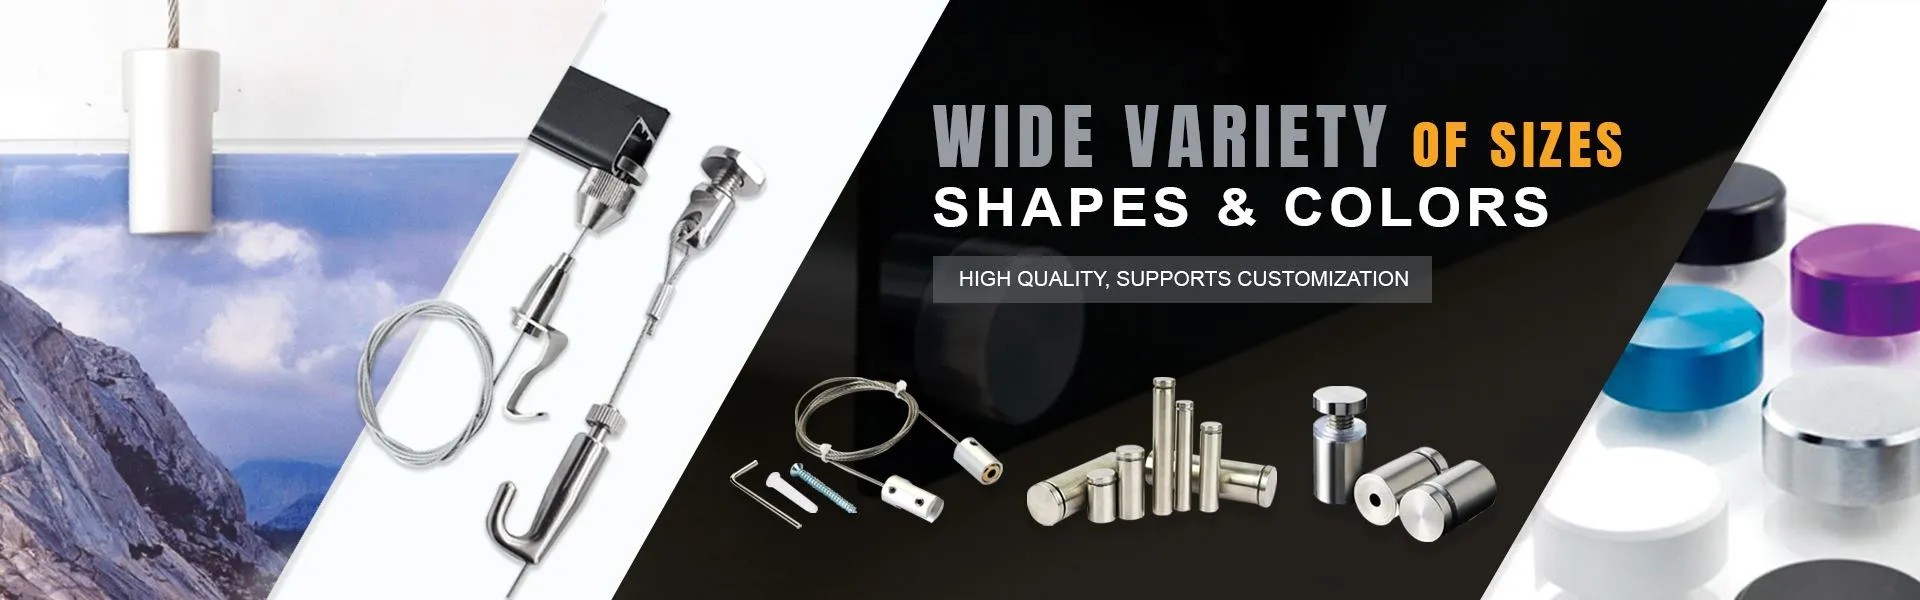
Standoffs are made from a variety of different materials including aluminum and stainless steel. These types of materials allow for a sleek, attractive presentation of signage without detracting from anything else in the room or the location of the standoff mounting. Because standoffs are simple to install, they are an excellent choice for your signage.