How to install the M4 Picture Standoff on a brick wall?
Nov 25, 2025
Hey there! I'm a supplier of M4 Picture Standoffs, and I'm here to walk you through the process of installing these nifty little things on a brick wall. Whether you're looking to hang up some cool art, a family photo, or a decorative sign, M4 Picture Standoffs are a great choice. They give your pictures or signs a floating, modern look that really makes them stand out. So, let's get started!
What You'll Need
Before you start the installation, you'll need to gather a few tools and materials. Here's a list of what you'll need:
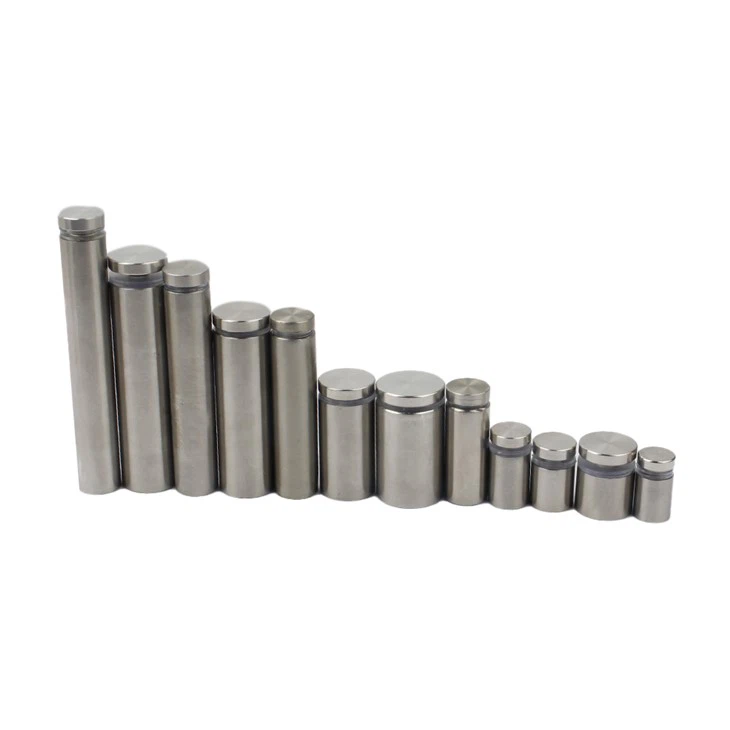
- M4 Picture Standoffs: Of course, you can't install them without having them first! Make sure you have the right number of standoffs for your project.
- Drill: You'll need a drill to make holes in the brick wall. A masonry drill bit is essential for this job. I recommend using a 6mm drill bit for M4 standoffs.
- Wall Anchors: These are used to secure the standoffs to the wall. For brick walls, plastic wall anchors work well.
- Screwdriver: You'll need a screwdriver to tighten the screws that hold the standoffs in place. A Phillips head screwdriver is usually the best choice for M4 screws.
- Tape Measure: This will help you measure the distance between the holes and ensure that your standoffs are evenly spaced.
- Level: A level is important to make sure that your pictures or signs are hanging straight.
- Pencil: You'll use a pencil to mark the spots where you'll drill the holes.
Step 1: Plan Your Installation
The first step is to plan where you want to install your M4 Picture Standoffs. Decide on the location of your picture or sign and use a tape measure to mark the spots where you'll drill the holes. Make sure the holes are evenly spaced and level. You can use a level to check that your markings are straight.
If you're hanging a large picture or sign, you may need to use more than two standoffs. In this case, you'll need to measure and mark the locations of all the holes carefully. Remember to leave enough space between the standoffs to ensure that your picture or sign is securely held in place.
Step 2: Drill the Holes
Once you've marked the spots where you'll drill the holes, it's time to get your drill out. Make sure you're using a masonry drill bit and set your drill to the appropriate speed. Start drilling slowly and apply gentle pressure to avoid cracking the brick.

Drill the holes to a depth of about 20mm. This will ensure that the wall anchors fit securely into the holes. Once you've drilled all the holes, use a brush or a vacuum cleaner to remove any dust or debris from the holes.
Step 3: Insert the Wall Anchors
After you've drilled the holes, it's time to insert the wall anchors. Take a wall anchor and insert it into one of the holes. Use a hammer to gently tap the anchor into place until it's flush with the wall. Repeat this process for all the holes.
Make sure the wall anchors are inserted firmly into the holes. If they're loose, the standoffs may not be securely held in place, and your picture or sign could fall off the wall.
Step 4: Attach the Standoffs
Now that the wall anchors are in place, it's time to attach the standoffs. Take a standoff and insert the screw through the hole in the standoff. Then, insert the screw into the wall anchor and tighten it with a screwdriver. Make sure the standoff is firmly attached to the wall.
Repeat this process for all the standoffs. If you're using more than two standoffs, make sure they're all tightened evenly to ensure that your picture or sign is level.
Step 5: Hang Your Picture or Sign
Once all the standoffs are attached to the wall, it's time to hang your picture or sign. If your picture or sign has pre-drilled holes, simply align the holes with the standoffs and slide the picture or sign onto the standoffs. If your picture or sign doesn't have pre-drilled holes, you may need to use a drill to make holes in the picture or sign. Make sure the holes are the same size as the standoffs.
Once your picture or sign is on the standoffs, use a level to check that it's straight. If it's not, you can adjust the position of the standoffs slightly to make it level.
Tips and Tricks
- Use a Template: If you're hanging multiple pictures or signs, using a template can help you ensure that the holes are evenly spaced and level. You can make a template out of cardboard or paper by cutting out the shape of your picture or sign and marking the locations of the holes.
- Choose the Right Standoffs: There are different types of M4 Picture Standoffs available, including 16mm Standoff Glass, glass sign standoff, and Acrylic Stainless Steel Sign Standoffs. Choose the standoffs that are best suited for your project.
- Be Careful When Drilling: Drilling into a brick wall can be tricky, so it's important to be careful. Make sure you're using the right drill bit and apply gentle pressure to avoid cracking the brick.
- Test the Standoffs: Before you hang your picture or sign, test the standoffs to make sure they're securely attached to the wall. Give the standoffs a gentle tug to see if they're loose. If they are, tighten the screws or replace the wall anchors.
Conclusion
Installing M4 Picture Standoffs on a brick wall is a relatively simple process that can add a touch of style to your home or office. By following these steps and using the right tools and materials, you can easily hang your pictures or signs and create a professional-looking display.
If you have any questions or need more information about M4 Picture Standoffs, feel free to reach out to me. I'm always happy to help! And if you're interested in purchasing M4 Picture Standoffs or any of our other products, please don't hesitate to contact me for a quote. We offer high-quality products at competitive prices, and we're committed to providing excellent customer service.
References
- DIY Home Improvement Guides
- Hardware Store Manuals